Introduction
Maintaining durable, safe, and hygienic warehouse floors often requires applying cove mortar along wall perimeters. Garon’s TREFLITE™ COVE MORTAR seals joints, enhances durability, and ensures a clean, professional environment.
Preparation
Start by cleaning the floor and wall to remove dust, dirt, and old mortar. Inspect for cracks or damage and repair them to create a smooth, stable surface for successful application.
Materials and Tools
Gather essential items, including cove mortar mix, water, a masonry trowel, a grout float, and mixing equipment. The right tools make the process efficient and effective.
Step-by-Step Guide
- Mix the Mortar: Follow manufacturer instructions to achieve the correct consistency.
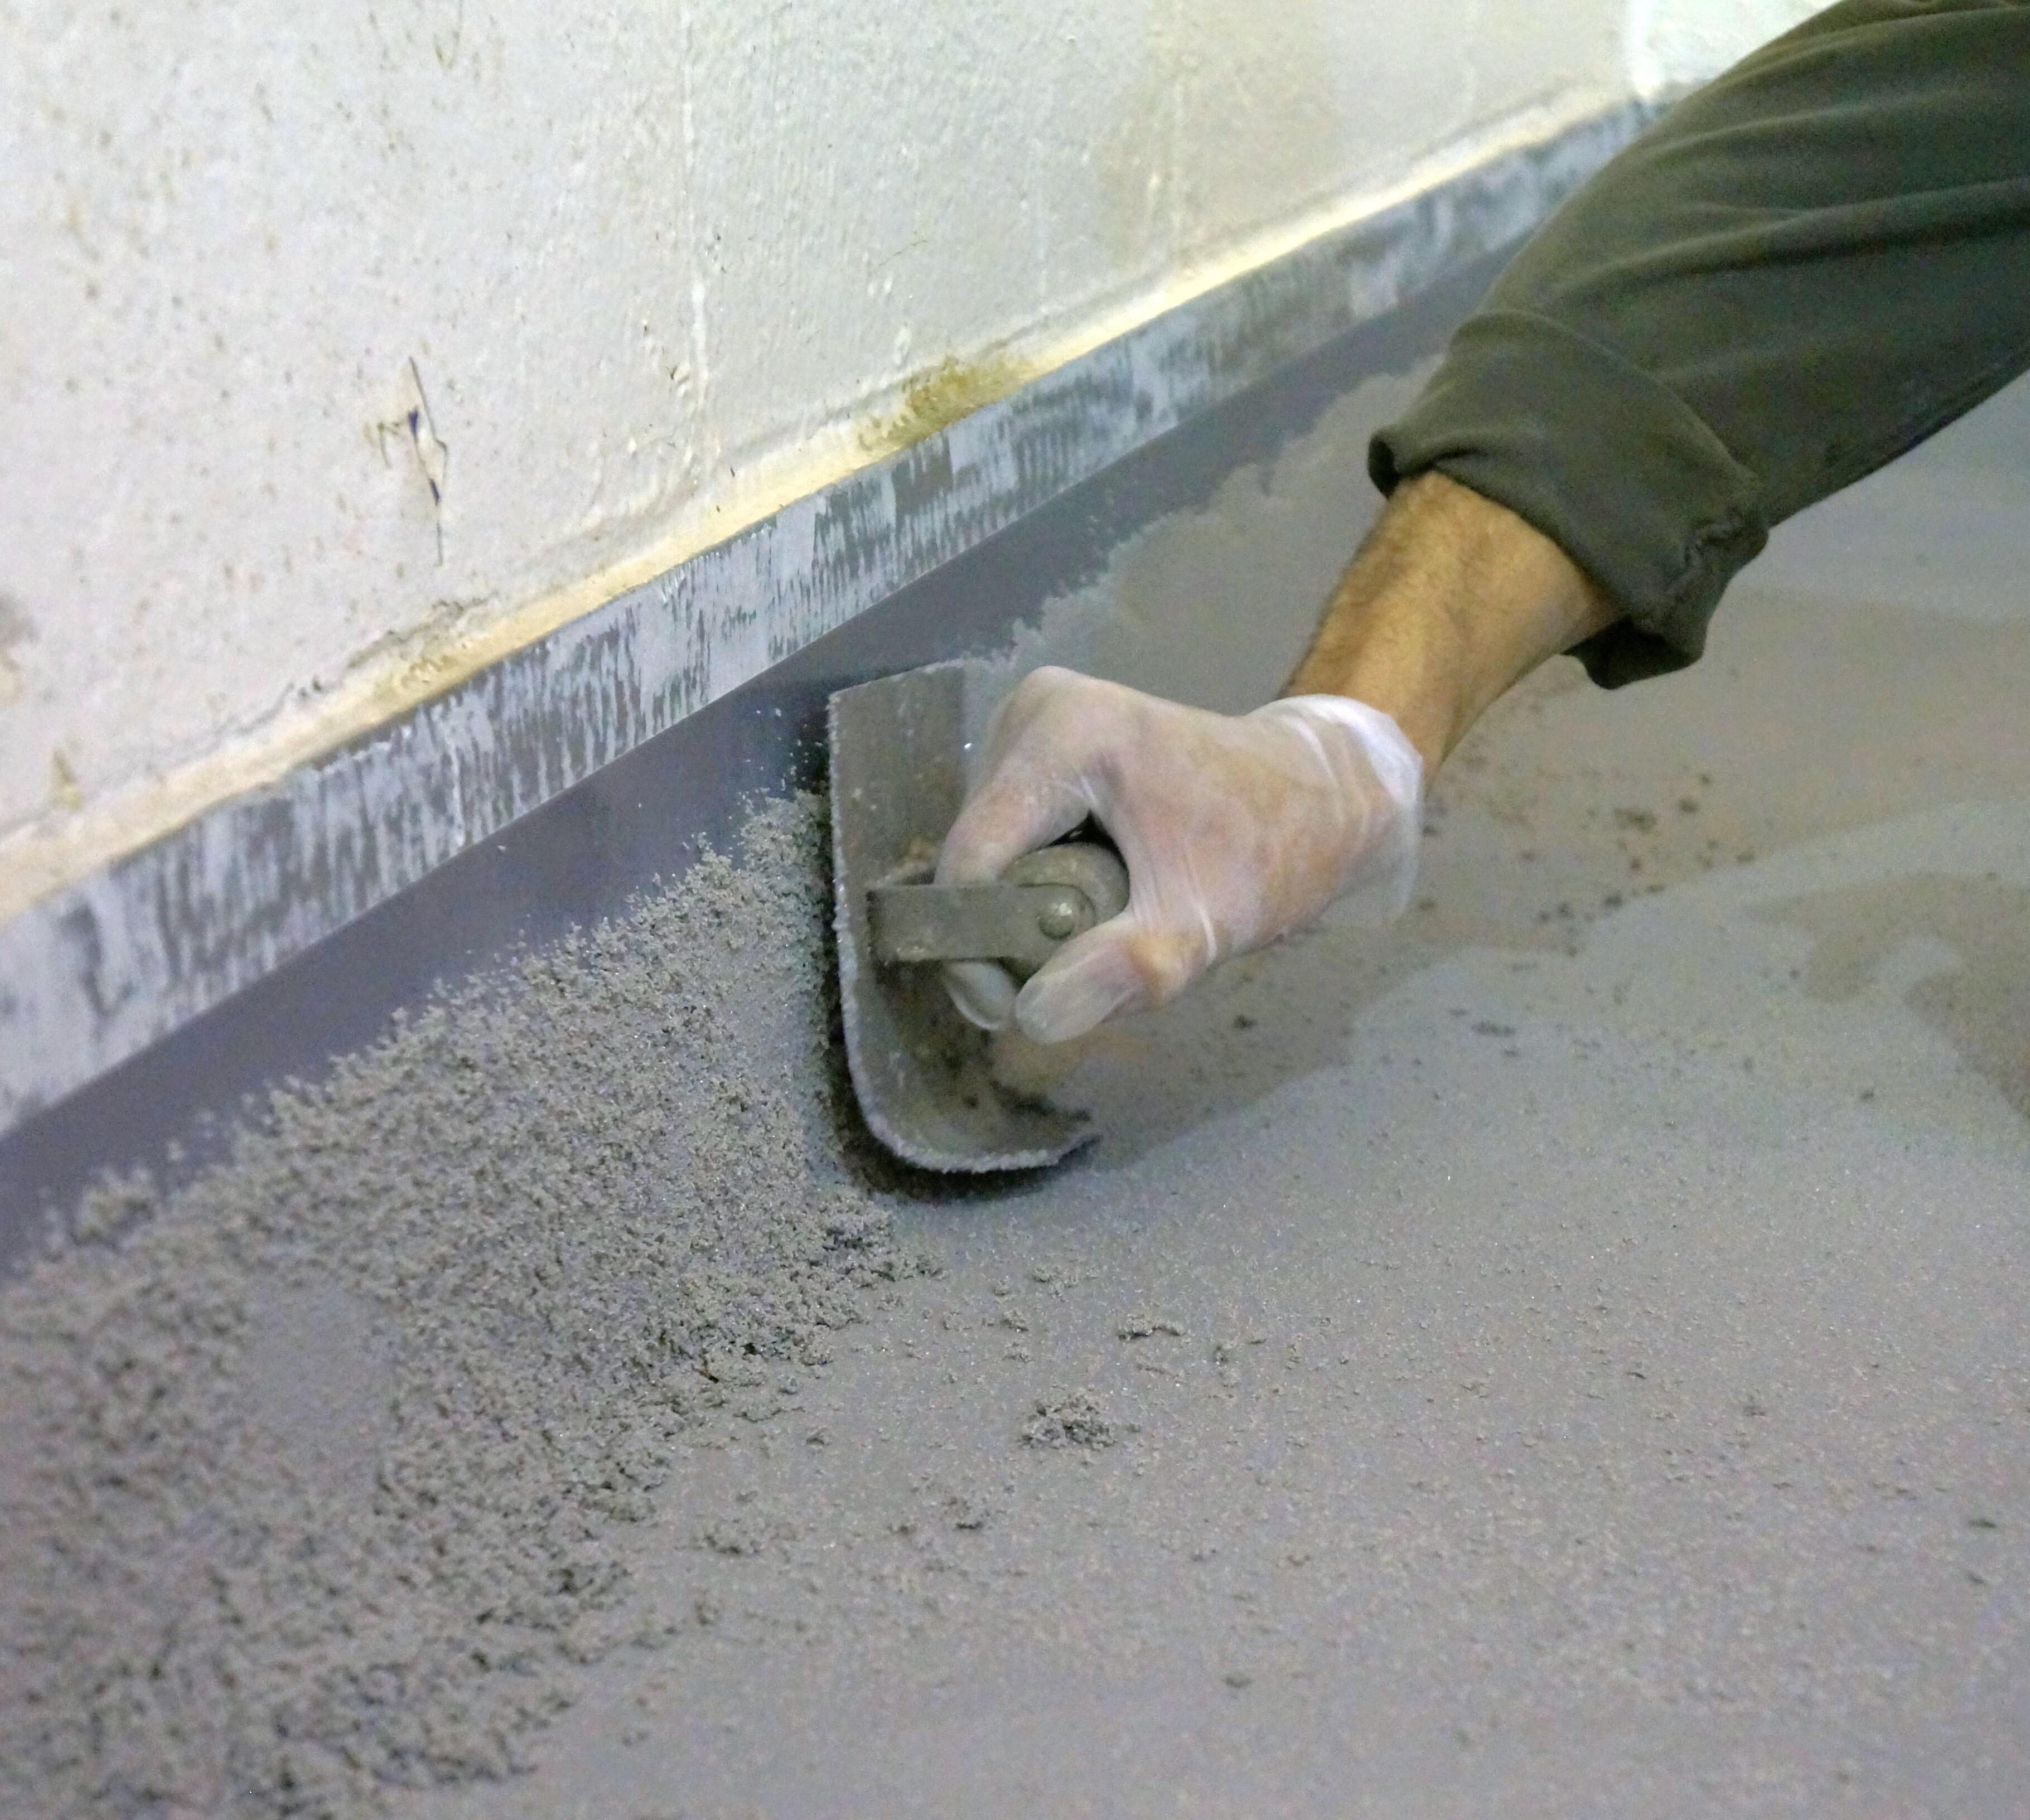
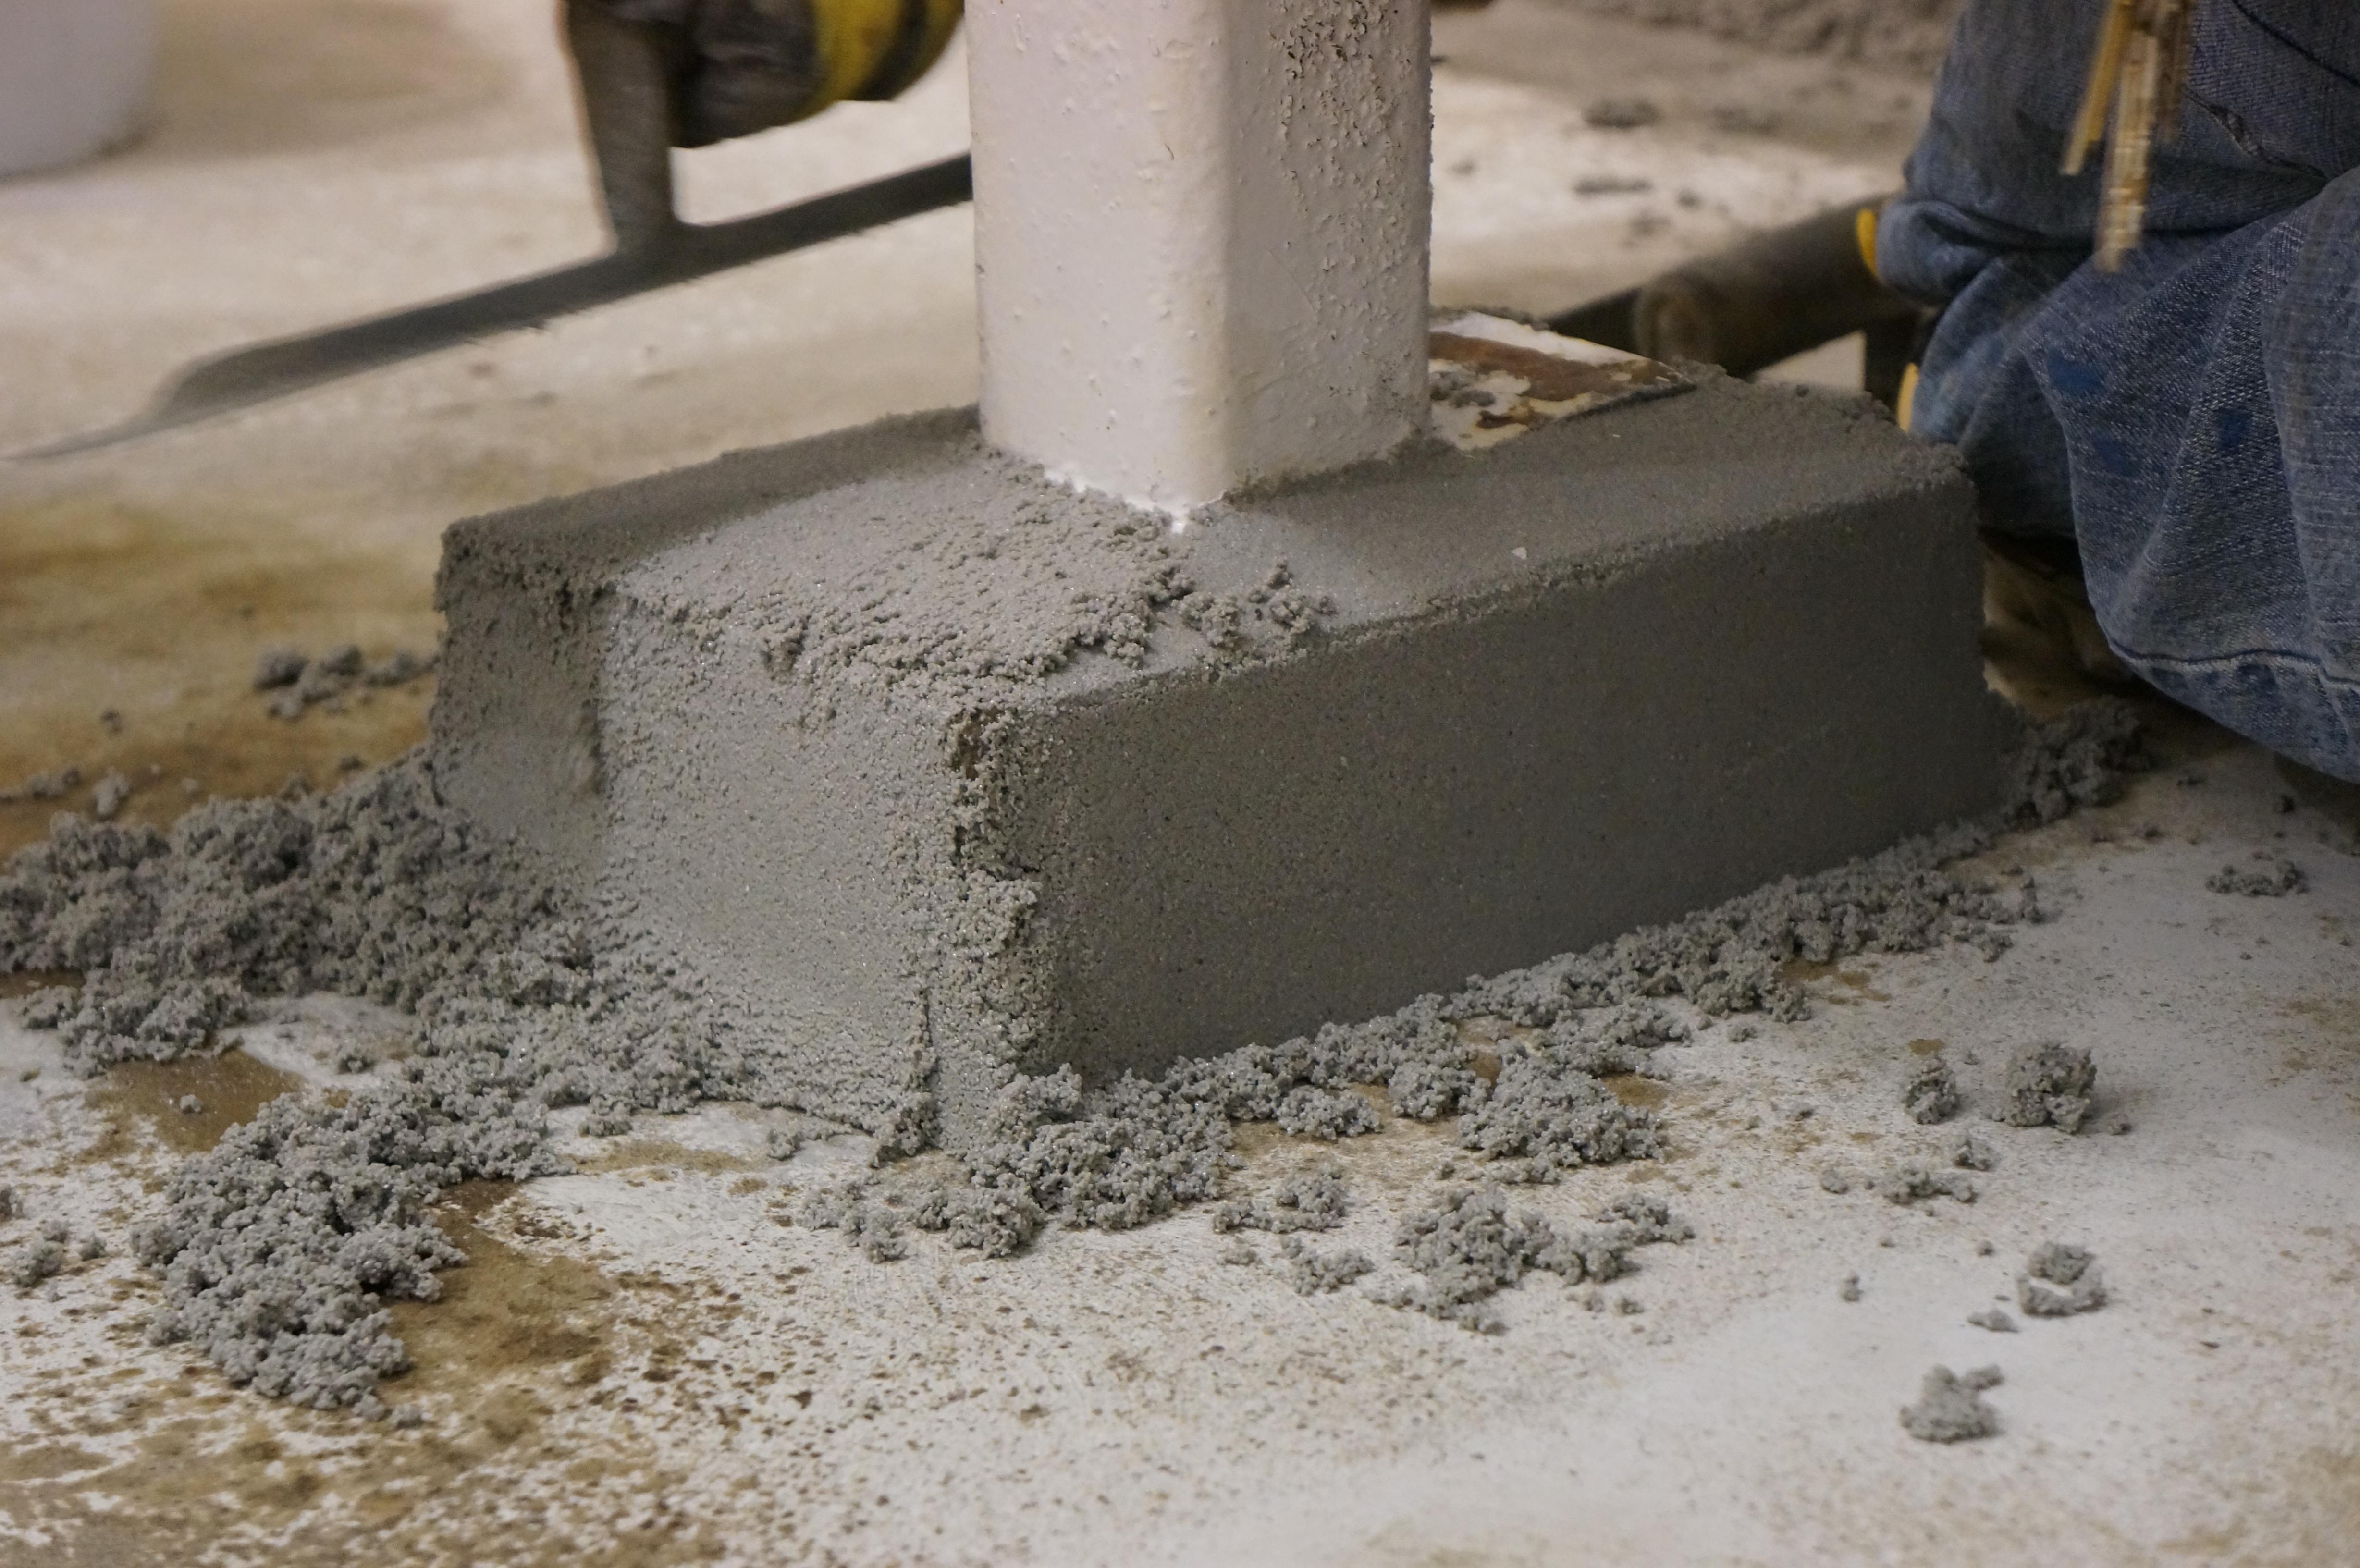
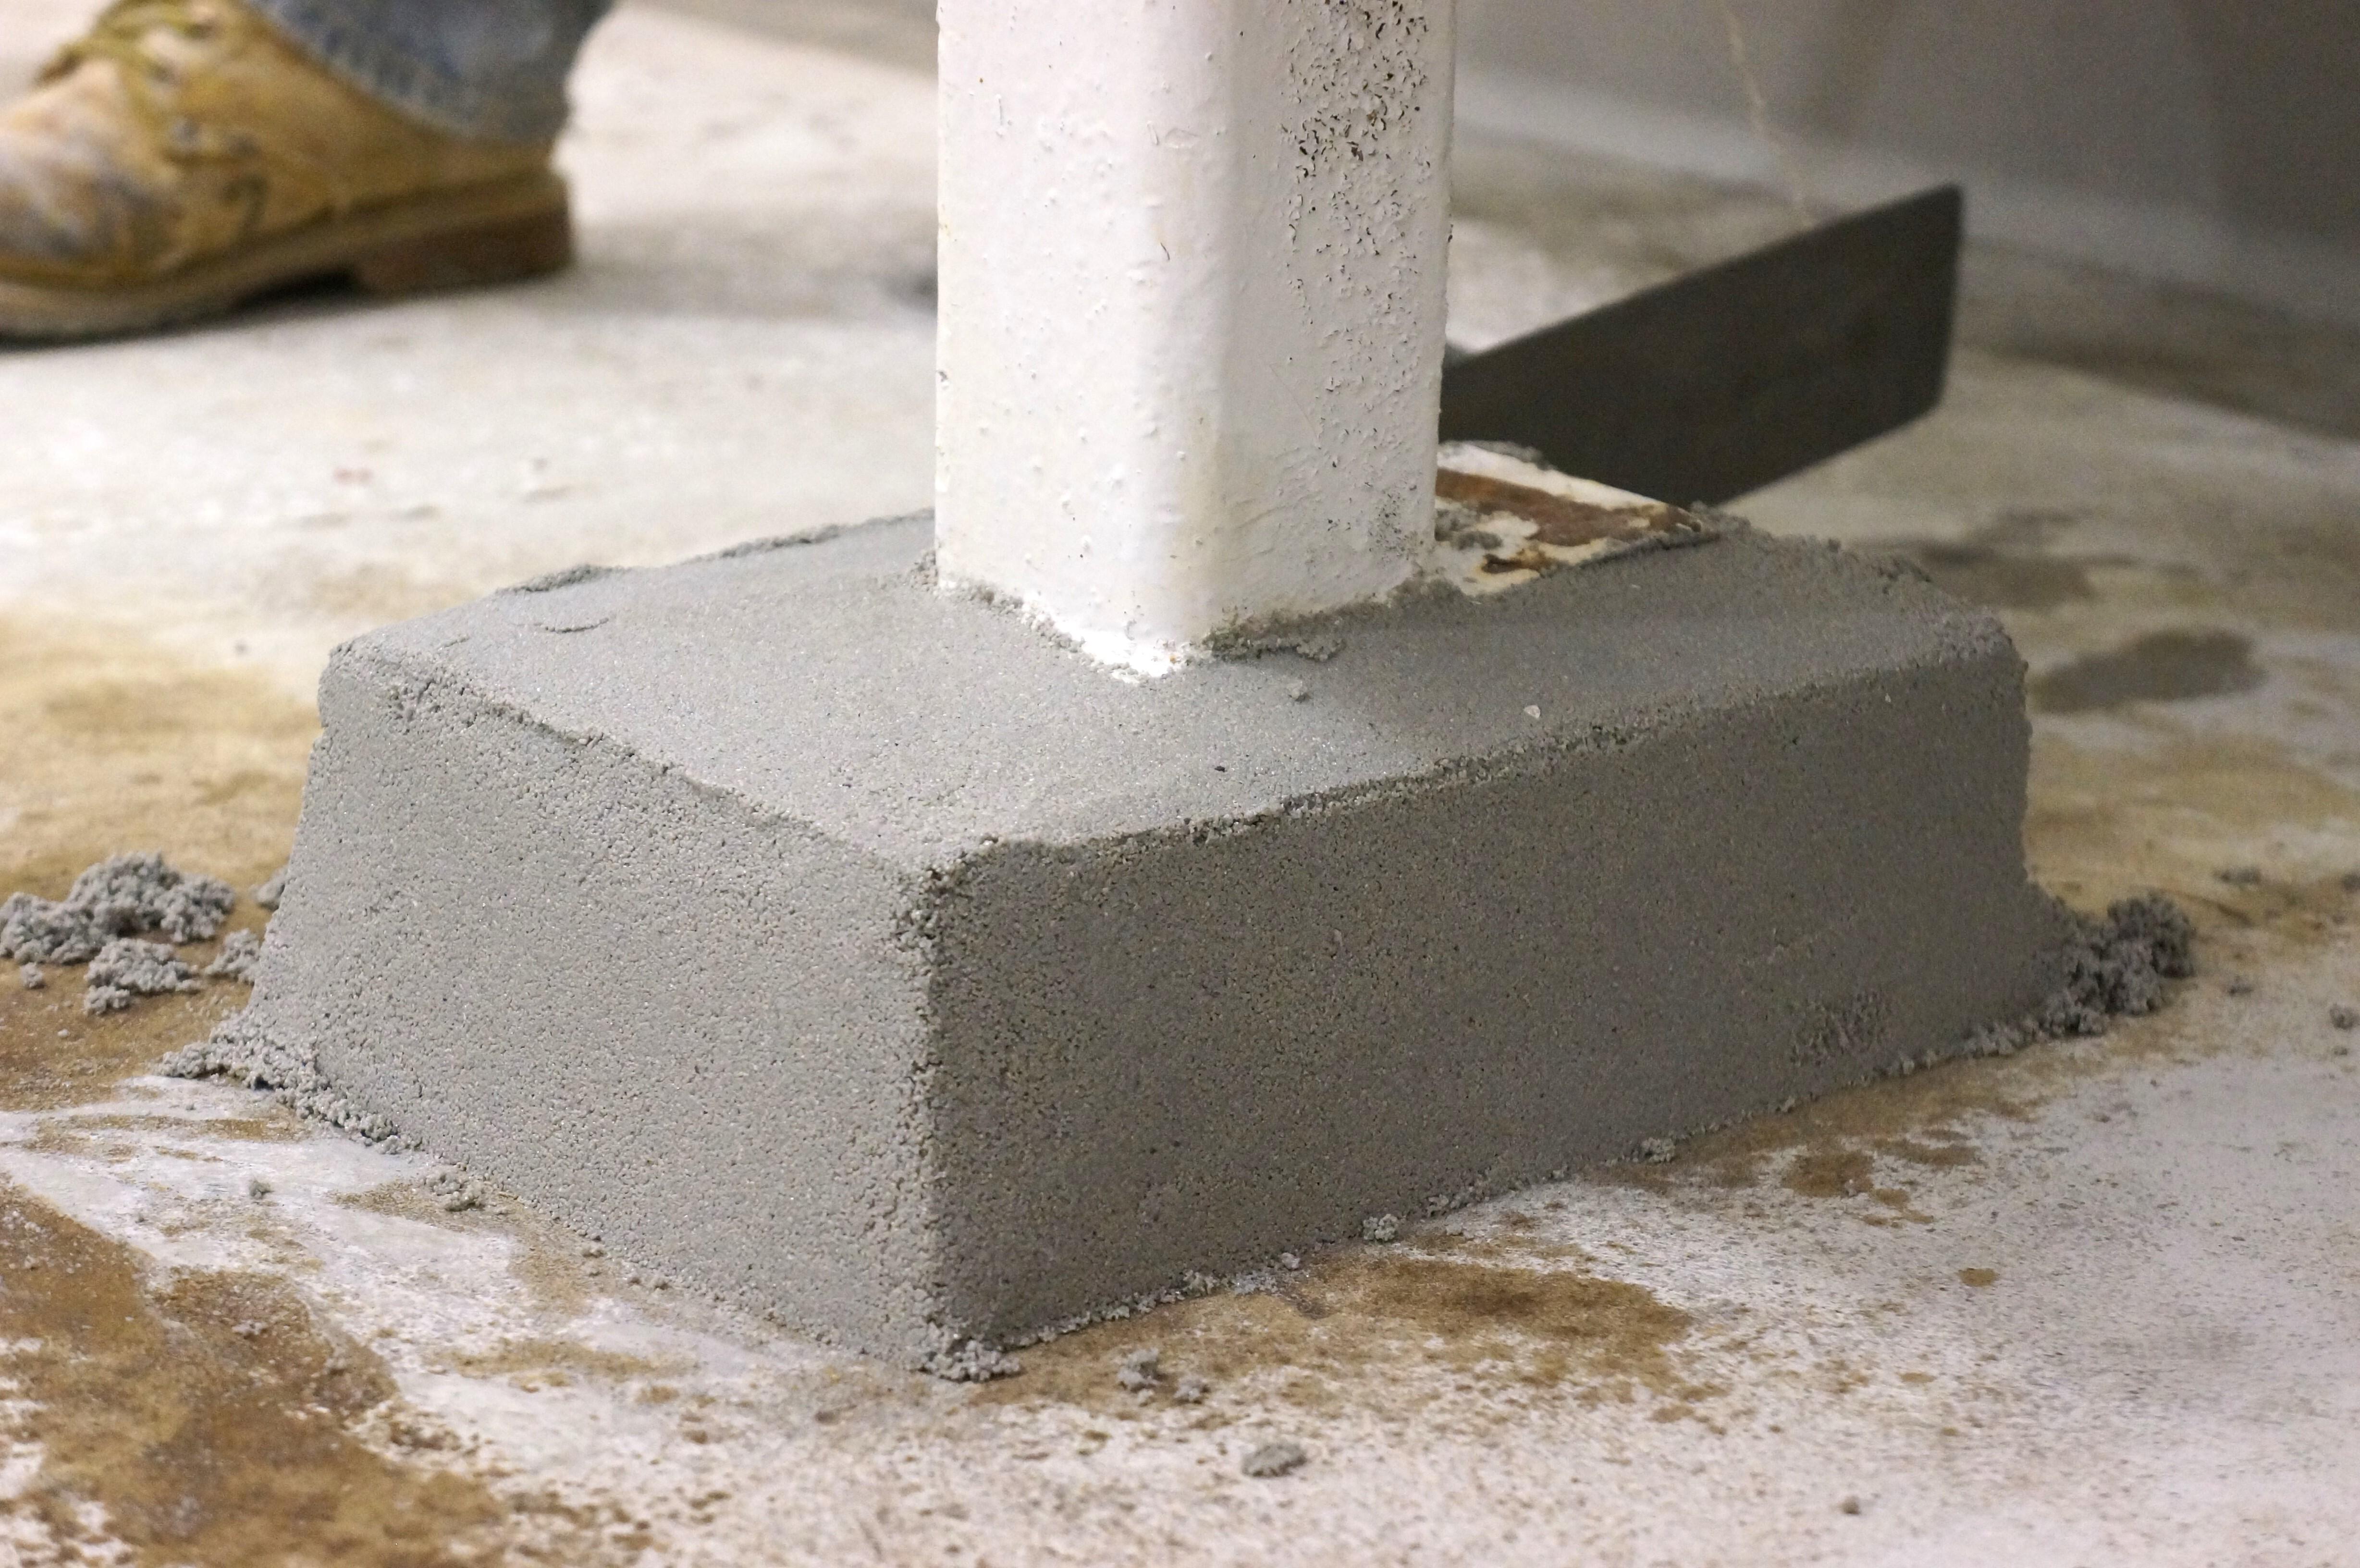
- Apply the First Layer: Spread an even layer of mortar along the wall-floor joint using a trowel.
- Shape the Cove: Smooth and curve the mortar to create a rounded joint for aesthetics and durability.
- Let It Set: Allow adequate drying time for a strong bond.
- Add Layers: If needed, apply additional layers for desired thickness, letting each layer set properly.
Tips for Success
Apply mortar in small sections for a smoother finish. Avoid overloading your trowel, and consider temperature and humidity, as they affect curing times.
Common Mistakes
Skipping preparation, inconsistent mixing, and rushing the drying process can lead to weak results. Uneven application and insufficient drying time are frequent errors to avoid.
Maintenance
Clean the cove mortar regularly and inspect for damage to prevent minor issues from escalating. Proper maintenance ensures durability and keeps your warehouse in optimal condition.
The Final Result
Applying Garon’s TREFLITE™ COVE MORTAR cove mortar strengthens floor-wall joints, enhances durability, and creates a professional finish. Follow this guide to achieve long-lasting results and maintain a safe, hygienic warehouse environment.
See it in Action!
Not sure which repair products are right for you?
Contact our team today.

![]()
![]()
![]()
![]()