How to Fix Acid or Chemical Stained Concrete Flooring with a Gloss Finish
Concrete floors are popular for their durability and aesthetic appeal, but they can be susceptible to damage from chemical spills, especially in industrial or laboratory settings. If your concrete flooring has suffered an acid stain or chemical spill, restoring its gloss finish may seem daunting. However, with the right tools and methods, you can repair the surface and restore its original luster. This guide will walk you through the process of fixing acid-stained concrete flooring with a gloss finish.
Understanding Acid-Stained Concrete and Chemical Spills
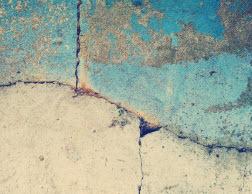
Before diving into the repair process, it's essential to understand what acid-stained concrete is and how chemical spills can affect it. Acid stains create a unique, marbled effect on concrete surfaces by penetrating the surface and reacting with minerals in the concrete. Unfortunately, this makes the surface vulnerable to damage from chemical spills, which can strip away the stain and gloss finish.
What is Acid-Stained Concrete?
Acid-stained concrete involves the use of acid-based chemical solutions to create vibrant colors and patterns on concrete surfaces. The process involves acid reacting with minerals in the concrete to create a permanent, marbled effect. This technique not only enhances the visual appeal but also provides a unique, one-of-a-kind look that can't be replicated with other methods. However, while the aesthetic benefits are significant, the surface becomes vulnerable to chemical interactions that may cause damage.
How Chemical Spills Affect Acid-Stained Surfaces
Chemical spills on acid-stained concrete can have detrimental effects on both the appearance and structural integrity of the surface. When chemicals come into contact with the stained concrete, they can cause discoloration or uneven coloring by disrupting the chemical bonds formed during the staining process. In more severe cases, the chemicals may etch or eat away at the surface, leading to pitting or loss of gloss. Understanding how chemicals interact with your flooring is vital for effective prevention and repair.
Long-term Implications of Neglected Chemical Damage
Failing to address chemical spills promptly can lead to long-term damage that may be costly and difficult to repair. Over time, repeated chemical exposure can lead to deeper etching and irreversible damage to the concrete substrate. This not only affects the floor's appearance but can also weaken the surface, leading to potential safety hazards in high-traffic areas. Therefore, understanding and mitigating these risks is crucial to maintaining the longevity and functionality of your flooring.
The Importance of Using Chemical Resistant Materials
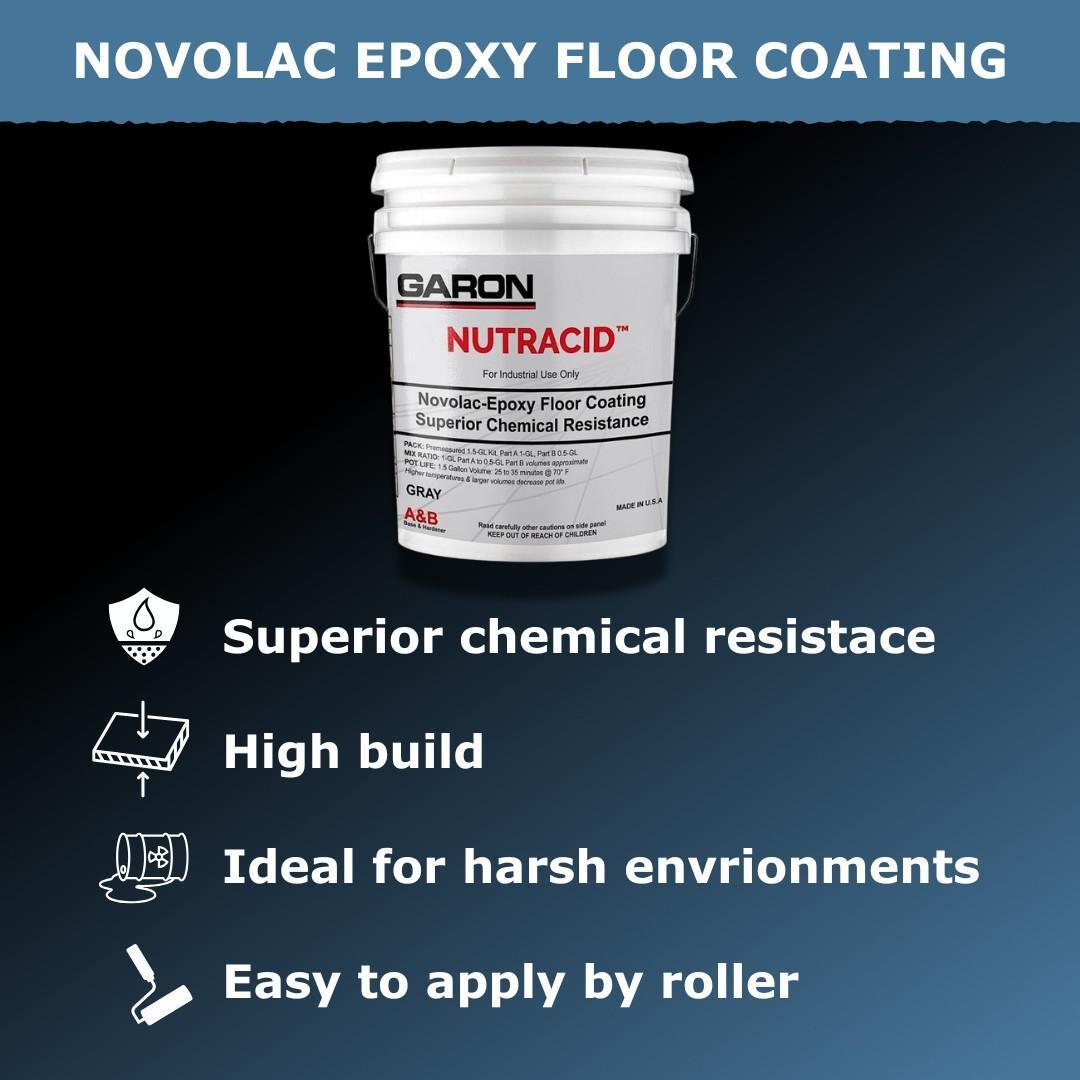
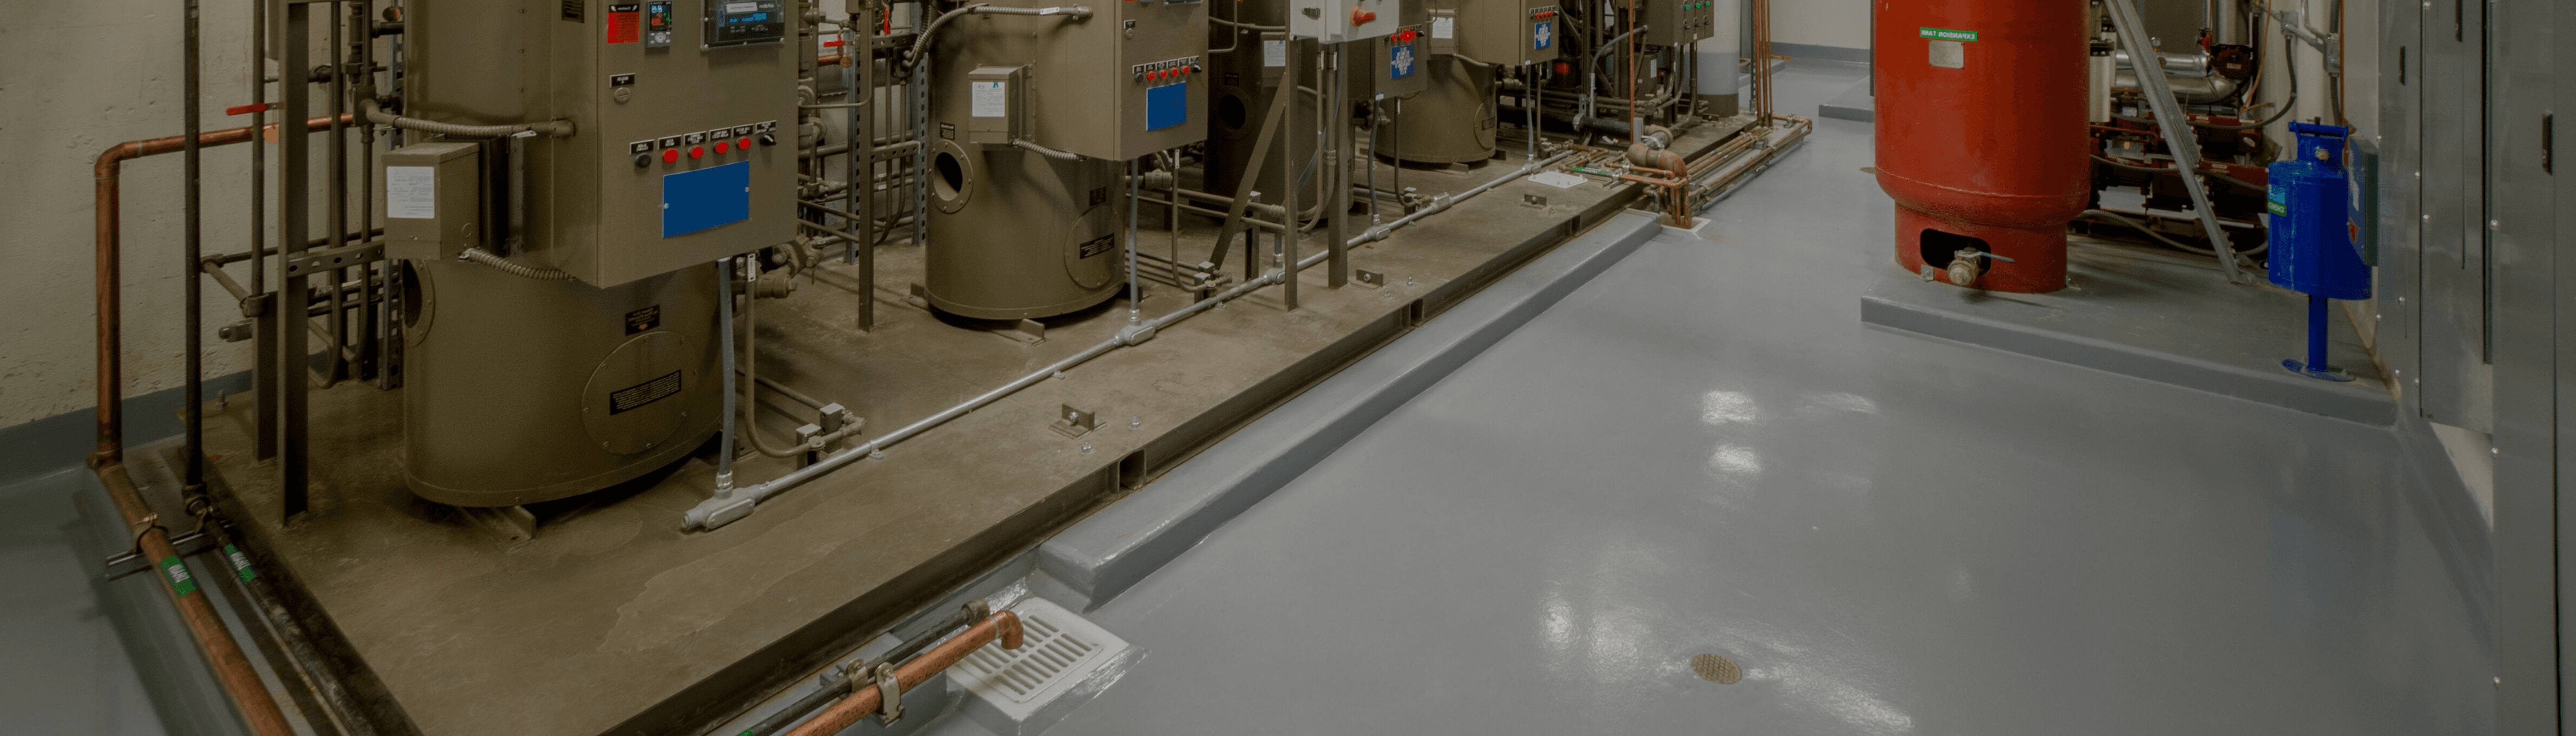
When dealing with areas prone to chemical spills, using chemical-resistant materials is crucial, such as NUTRACID™. Chemical-resistant epoxy coatings, like novolac epoxy, provide a protective barrier on the concrete surface, helping to prevent damage from future spills. These coatings are specifically designed to withstand harsh chemicals, ensuring the longevity and durability of your flooring.
NUTRACID™ by Garon Products Inc. Is a novolac epoxy floor coating designed to protect floors from chemical spills.
Advantages of Chemical-Resistant Epoxy Coatings
Chemical-resistant epoxy coatings offer numerous benefits, making them an ideal choice for industrial and laboratory settings. They create a robust barrier that protects the concrete from chemical exposure and physical wear and tear. These coatings are also resistant to most acids, solvents, and other harsh chemicals, which ensures that the floor remains intact even in the most demanding environments. Furthermore, they enhance the durability of the floor, reducing the need for frequent repairs and maintenance.
Types of Chemical-Resistant Coatings
There are various types of chemical-resistant coatings available, each designed to cater to specific needs and environments. Novolac epoxy is highly recommended for areas with frequent chemical exposure due to its superior resistance properties. NUTRACID™ is a great example. Polyurethane coatings, on the other hand, offer enhanced flexibility and are ideal for surfaces that experience significant mechanical stress. Selecting the right type of coating depends on the specific chemicals and conditions your floor will face.
Application Process and Best Practices
Applying chemical-resistant coatings requires careful preparation and execution to ensure optimal results. Begin by thoroughly cleaning and preparing the surface to remove any contaminants that may affect adhesion. Follow the manufacturer's instructions for mixing and applying the coating, ensuring even coverage for maximum protection. It's also essential to allow adequate curing time to achieve the desired hardness and chemical resistance. Proper application not only safeguards your floor but also enhances its visual appeal.
Steps to Repair Acid-Stained Concrete Flooring
Step 1: Assess the Damage
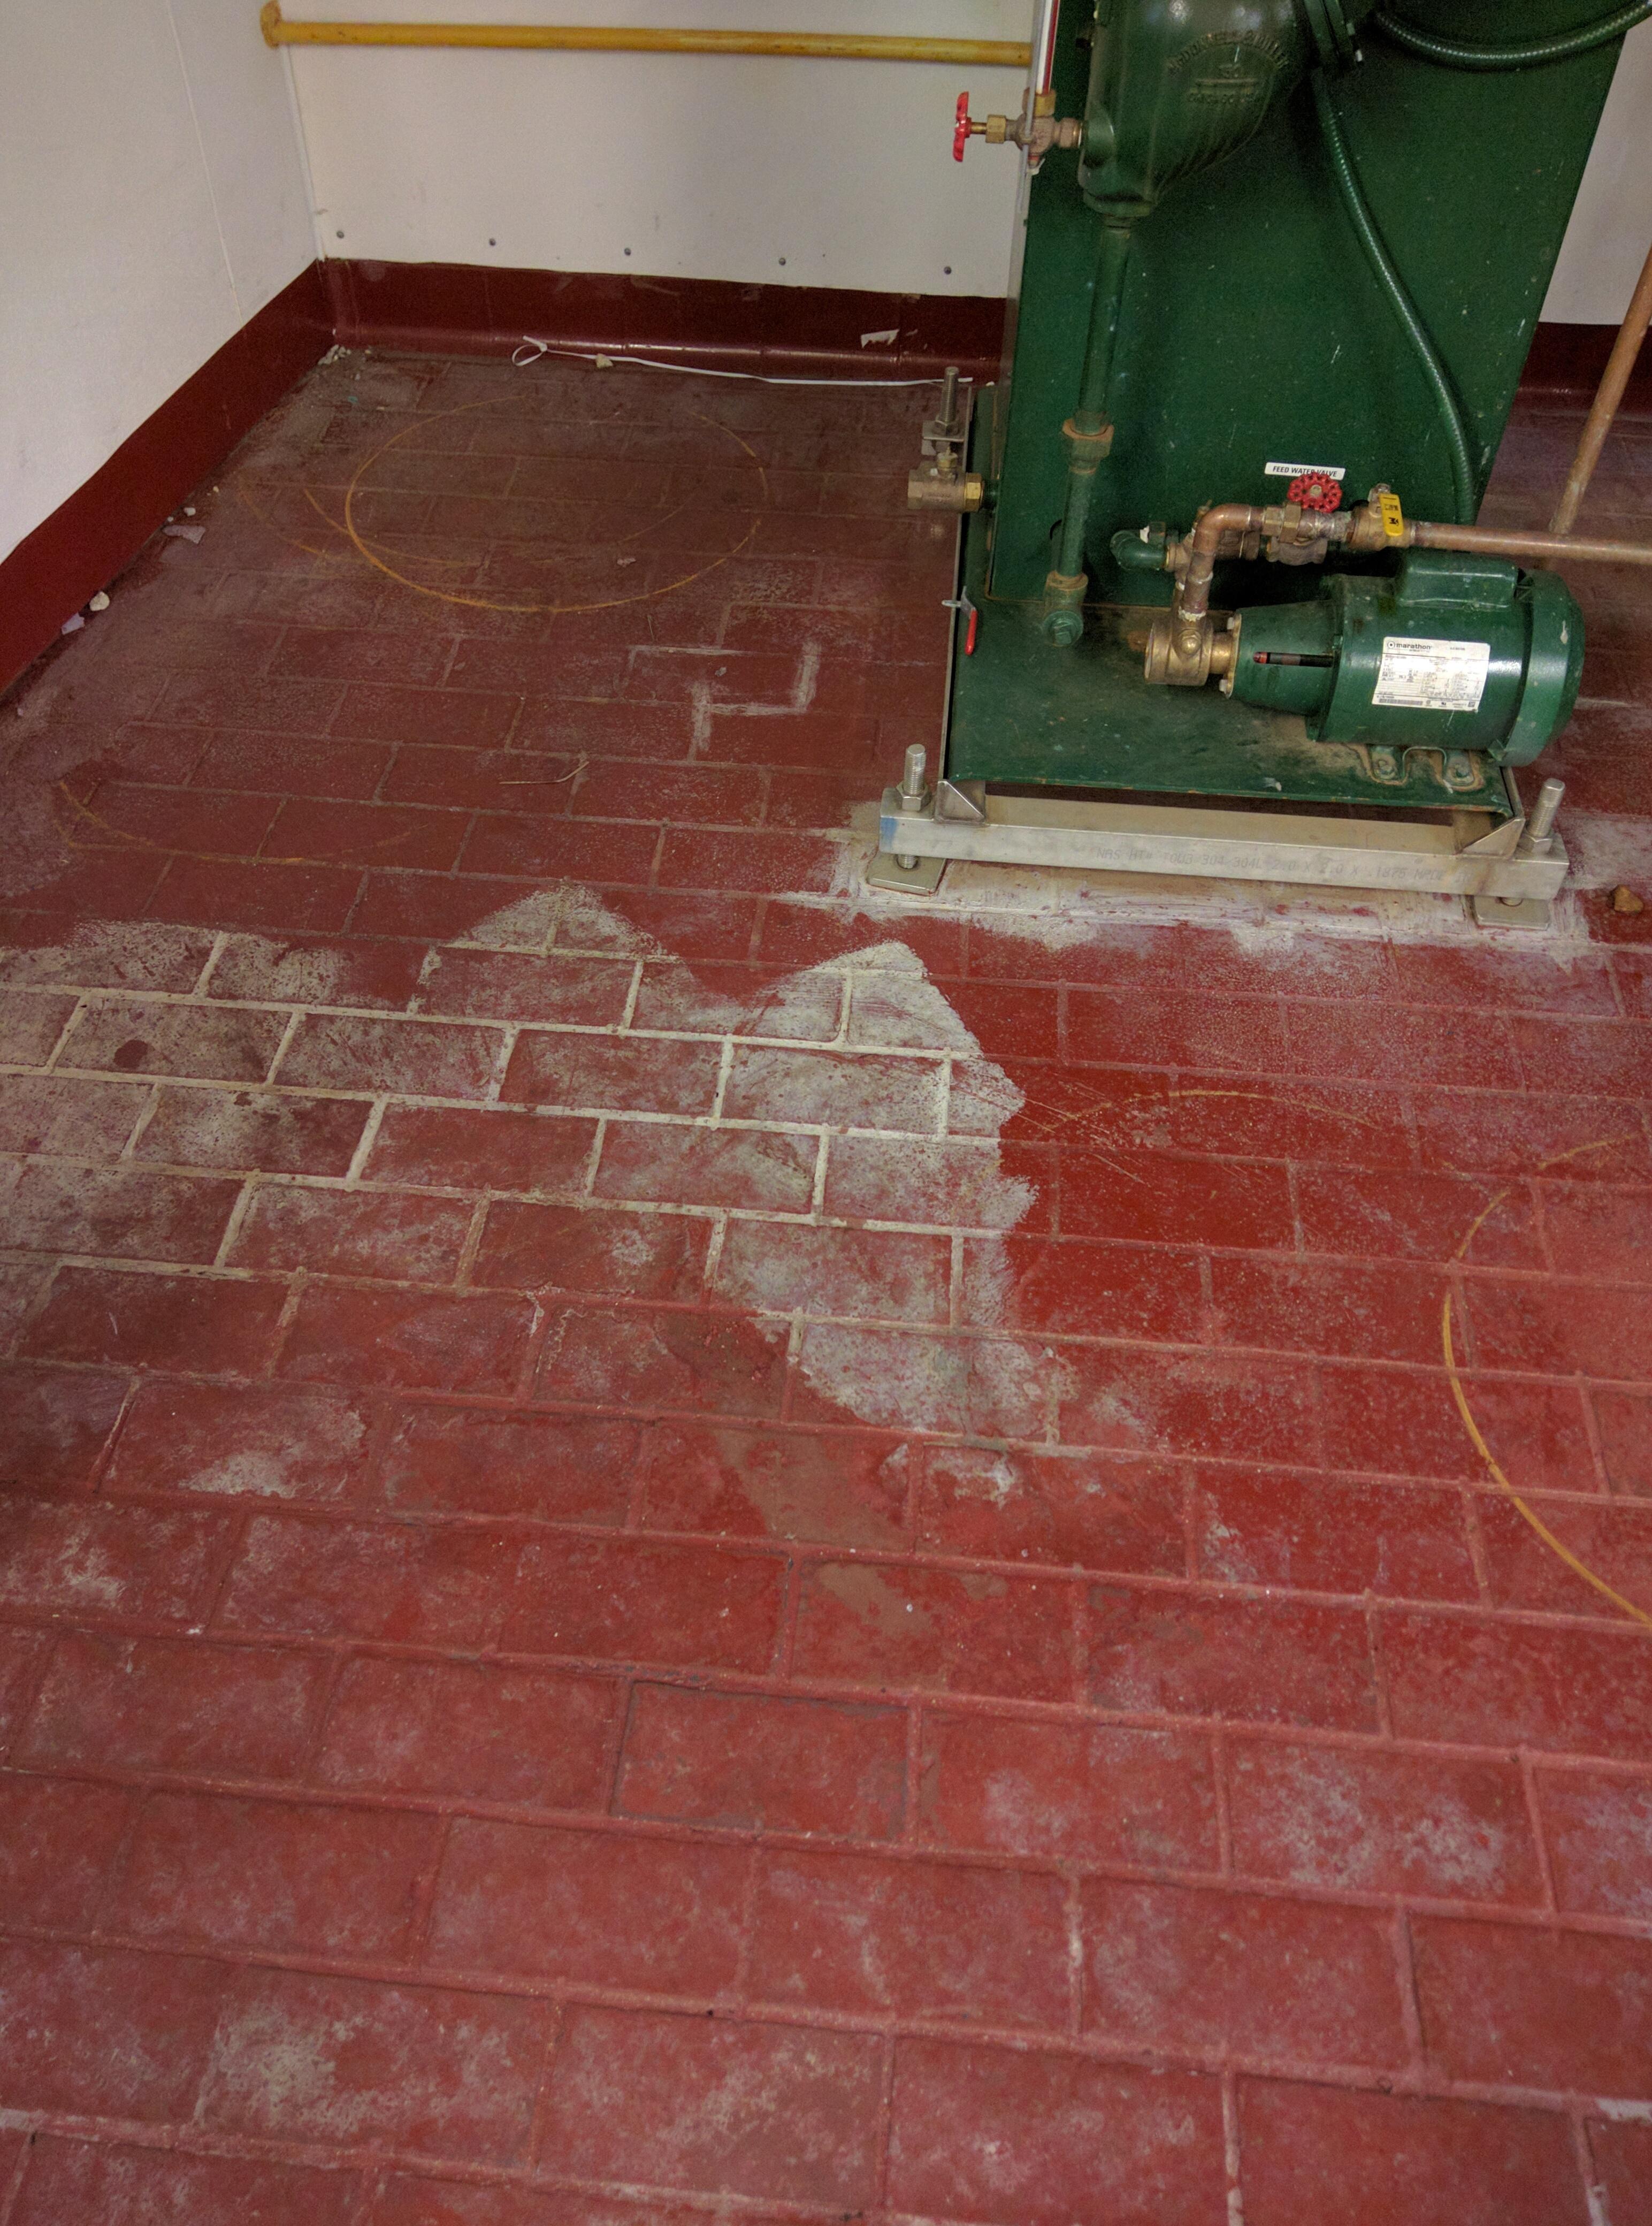
Before you can begin repairing your concrete flooring, you need to assess the extent of the damage. Look for discoloration, etching, or dullness in the gloss finish. Identifying the affected areas will help you determine the best approach for repair.
Identifying Signs of Damage
Begin by conducting a thorough inspection of your concrete floor to identify any visible signs of damage. Look for changes in color, such as fading or staining, which may indicate chemical interaction. Additionally, check for etching or pitting, as these are common indicators of surface degradation. Understanding the extent and type of damage will guide you in selecting the appropriate repair strategies.
Understanding the Severity of Damage
It's important to determine the severity of the damage to tailor your repair approach accordingly. Minor discoloration may only require surface treatment, while deeper etching might necessitate more extensive intervention. Consider consulting with a professional if you're unsure about the severity of the damage. A professional assessment can provide valuable insights into the best course of action for restoration.
Documenting Damage for Future Reference
As you assess the damage, consider documenting your findings with photos and notes. This information can serve as a valuable reference for future repairs or maintenance. By understanding the patterns and causes of damage, you can implement preventive measures to avoid similar issues in the future. Proper documentation also aids in communicating the situation to professionals if further assistance is needed.
Step 2: Clean the Surface
Begin by thoroughly cleaning the concrete surface. Remove any debris, dust, or dirt with a broom or vacuum. For stubborn stains or residue from the chemical spill, use a mild detergent mixed with water and scrub the area with a stiff brush. Rinse the surface with clean water and let it dry completely.
Importance of Thorough Cleaning
Cleaning is a critical step in the repair process as it ensures the surface is free from contaminants that could hinder adhesion. Dirt, dust, and debris can interfere with the application of new coatings, leading to suboptimal results. A clean surface also allows for better inspection and assessment of the damage, ensuring that no areas are overlooked during the repair process.
Techniques for Effective Surface Cleaning
Effective cleaning involves the use of appropriate tools and techniques to achieve a spotless surface. Start with a broom or vacuum to remove loose particles, followed by a thorough wash with a mild detergent solution. Use a stiff brush to scrub away stubborn stains or residue, paying particular attention to heavily soiled areas. Rinse the surface with clean water to remove any soap residue, and allow it to dry completely before proceeding with repairs.
Choosing the Right Cleaning Agents
Selecting the right cleaning agents is crucial for effective surface preparation. Opt for mild detergents that won't damage the concrete or leave harmful residues. Avoid using harsh chemicals that may further degrade the surface or interfere with the repair materials. If you're unsure about which cleaning agents to use, consult with professionals or refer to the manufacturer's recommendations for guidance.
Step 3: Prepare the Surface for Repair
Once the surface is clean and dry, it's time to prepare it for repair. Use a diamond grinding tool to remove the damaged layer of concrete and expose a fresh surface. This step is essential for ensuring that the new coating adheres properly. Be sure to wear protective gear, such as goggles and a dust mask, during this process to avoid inhaling concrete dust.
Importance of Surface Preparation
Proper surface preparation is critical for successful repair and restoration. By removing the damaged layer, you ensure that the new coating bonds effectively with the concrete substrate. This step also helps to eliminate any unevenness or imperfections, creating a smooth, uniform surface for the application of protective coatings. Skipping or rushing this step can compromise the longevity and effectiveness of the repair.
Tools and Equipment for Surface Preparation
Utilizing the right tools and equipment is essential for efficient and effective surface preparation. A diamond grinding tool is ideal for removing damaged layers and achieving a smooth finish. Ensure you have all necessary protective gear, including goggles, a dust mask, and gloves, to safeguard against dust and debris. Familiarize yourself with the equipment and follow safety protocols to prevent accidents or injuries.
Safety Considerations and Precautions
Safety should always be a top priority during surface preparation. Concrete dust can be hazardous if inhaled, so wearing a dust mask or respirator is crucial. Additionally, use goggles to protect your eyes from flying debris and gloves to prevent skin irritation. Ensure the work area is well-ventilated, and follow all manufacturer guidelines for operating tools and equipment safely. Taking these precautions will help ensure a safe and successful repair process.
Step 4: Apply a Chemical Resistant Epoxy Coating
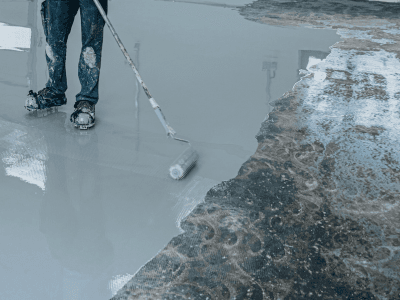
With the surface prepared, you can now apply a chemical-resistant epoxy coating. NUTRACID™ Novolac epoxy is an excellent choice for areas prone to chemical spills, as it provides superior resistance to harsh substances. Follow the manufacturer's instructions for mixing and applying the epoxy, ensuring even coverage across the affected area. Allow the coating to cure for the recommended time before proceeding to the next step.
Selecting the Right Epoxy Coating
Choosing the appropriate epoxy coating is essential for effective chemical resistance and floor protection. Consider factors such as the specific chemicals your floor is exposed to, the level of foot traffic, and environmental conditions. Novolac epoxy is highly recommended for its superior resistance to a wide range of chemicals, making it ideal for industrial and laboratory settings. NUTRACID™ is the best option, but make sure the selected product is compatible with your concrete floor and meets your specific needs.
Mixing and Application Techniques
Proper mixing and application techniques are crucial for achieving optimal results with epoxy coatings. Follow the manufacturer's instructions carefully to ensure the correct ratio of components for effective curing. Use a roller or squeegee to apply the epoxy evenly, working methodically to avoid bubbles or uneven patches. Pay attention to the recommended thickness and coverage area to ensure consistent protection.
Curing Time and Post-Application Care
Allowing sufficient curing time is essential for the epoxy coating to achieve its full strength and chemical resistance. Follow the manufacturer's guidelines for curing duration, and avoid foot traffic or placing heavy objects on the surface until the curing process is complete. After curing, implement regular maintenance routines to preserve the coating's integrity and appearance, ensuring long-lasting protection for your concrete flooring.
To maintain the restored gloss finish, implement regular maintenance routines tailored to your flooring's specific needs. Avoid abrasive cleaning tools or harsh chemicals that may degrade the sealer or polish over time. Regularly sweep or vacuum to remove dirt and debris, and use a damp mop with a mild detergent as needed. Periodically reapply the sealer or polish to preserve the floor's shine and protective qualities.
Preventive Measures for Future Protection
While repairing your acid-stained concrete flooring is essential, taking preventive measures can help protect it from future damage. Here are some tips to keep your concrete surface in top condition:
Regular Maintenance
Implement a regular maintenance routine to keep your concrete flooring in good shape. Sweep or vacuum the floor regularly to remove dirt and debris, and mop it with a mild detergent and water solution as needed.
Establishing a Maintenance Schedule
Developing a consistent maintenance schedule is key to preserving your concrete floor's appearance and integrity. Determine the frequency of cleaning tasks based on the level of foot traffic and exposure to chemicals. Regularly assess the condition of the floor to identify any emerging issues and address them promptly. A well-structured maintenance routine helps prevent minor problems from escalating into costly repairs.
Effective Cleaning Techniques
Utilize effective cleaning techniques to ensure your concrete floor remains in optimal condition. Use a soft-bristle broom or vacuum to remove loose dirt and debris, preventing scratches and surface damage. For more thorough cleaning, use a damp mop with a mild detergent solution, ensuring not to oversaturate the floor. Rinse with clean water to remove any soap residue, and allow the surface to dry completely before use.
Monitoring for Early Signs of Damage
Regularly inspect your concrete floor for early signs of damage, such as discoloration, cracking, or loss of gloss. Identifying issues early allows for prompt intervention and prevents further deterioration. Document any observations and address them as part of your maintenance routine. Early detection and resolution of problems contribute to the long-term durability of your flooring.
Use Protective Coatings
Consider applying a protective coating (Nutracid) to your concrete flooring, especially in areas prone to chemical spills. Chemical-resistant epoxy coatings provide an additional layer of protection, helping to preserve the appearance and integrity of your flooring.
Benefits of Protective Coatings
Protective coatings serve as a vital barrier against chemical exposure, physical wear, and environmental factors. They enhance the durability of the concrete surface, reducing the need for frequent repairs and maintenance. Coatings also improve the aesthetic appeal of the floor, providing a polished, professional look that enhances the overall ambiance of the space. By investing in protective coatings, you extend the lifespan of your flooring and safeguard your investment.
Selecting the Appropriate Coating
Choosing the right protective coating requires careful consideration of your specific needs and conditions. Evaluate factors such as chemical exposure, traffic levels, and environmental conditions to select a coating that offers optimal protection. Consult with professionals or refer to manufacturer guidelines to ensure compatibility with your concrete floor. Proper selection and application of coatings contribute to the longevity and resilience of your flooring.
Maintenance and Reapplication of Coatings
Regularly assess the condition of protective coatings to ensure they remain effective in safeguarding your concrete floor. Over time, coatings may wear down due to foot traffic and chemical exposure, necessitating reapplication to maintain their protective qualities. Follow manufacturer recommendations for reapplication intervals and procedures to ensure continued protection. Proper maintenance and periodic reapplication of coatings contribute to the long-term performance of your flooring.
Immediate Spill Cleanup
Act quickly when a chemical spill occurs to minimize damage. Use absorbent materials, such as paper towels or a clean cloth, to soak up the spill. Rinse the area with water and clean it with a mild detergent to remove any residue.
Prompt Response to Spills
Responding promptly to chemical spills is crucial for minimizing potential damage to your concrete floor. The longer a spill remains on the surface, the more likely it is to cause staining or etching. Equip your facility with readily accessible spill cleanup materials, and train employees on swift and effective cleanup procedures. Quick action can prevent costly repairs and maintain the floor's integrity.
Effective Spill Cleanup Techniques
Employ effective spill cleanup techniques to mitigate potential damage. Begin by using absorbent materials to soak up the spill, working from the edges toward the center to contain it. Rinse the area with clean water to dilute any remaining chemicals, and clean with a mild detergent solution to remove residues. Dry the surface thoroughly to prevent further interaction with the chemicals.
Preventive Measures for Spill Management
Implement preventive measures to manage and minimize the risk of spills in your facility. Consider installing spill containment systems or barriers in high-risk areas to prevent the spread of chemicals. Label and store chemicals properly to reduce the likelihood of accidental spills. Educate employees on spill prevention strategies and ensure they understand the importance of swift cleanup to protect the flooring.
Conclusion
Repairing acid-stained concrete flooring with a gloss finish doesn't have to be an overwhelming task. By understanding the damage, using chemical-resistant materials, and following a structured repair process, you can restore your flooring to its original beauty. Additionally, implementing preventive measures will help protect your investment and ensure the longevity of your concrete flooring. With the right approach, you can enjoy a durable, attractive floor that stands the test of time.
Not sure which repair products are right for you?
Contact our team today.

![]()
![]()
![]()
![]()