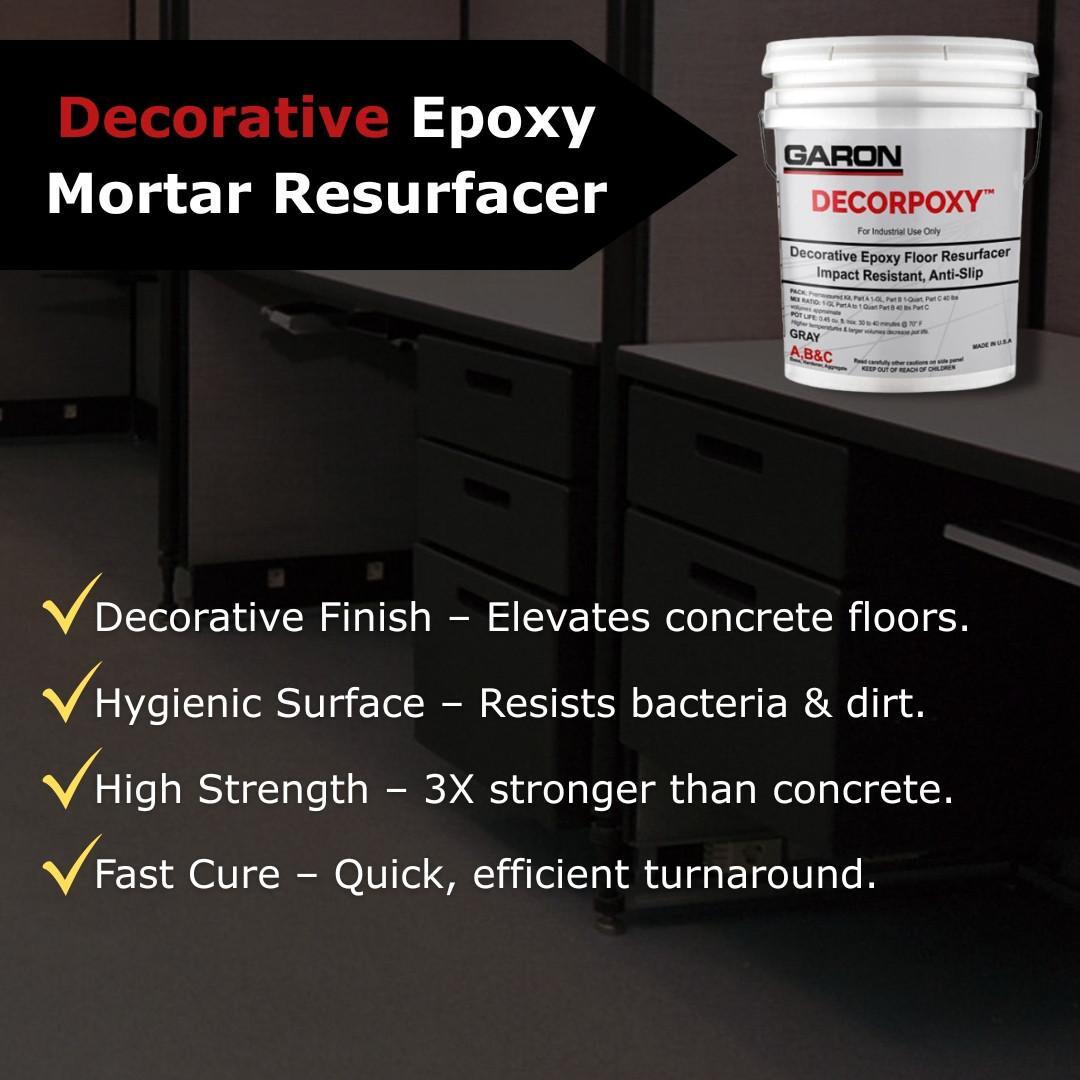
Decorative Concrete Resurfacing
Improve Performance & Appearence of Concrete Floors with Decorative Floor Overlay
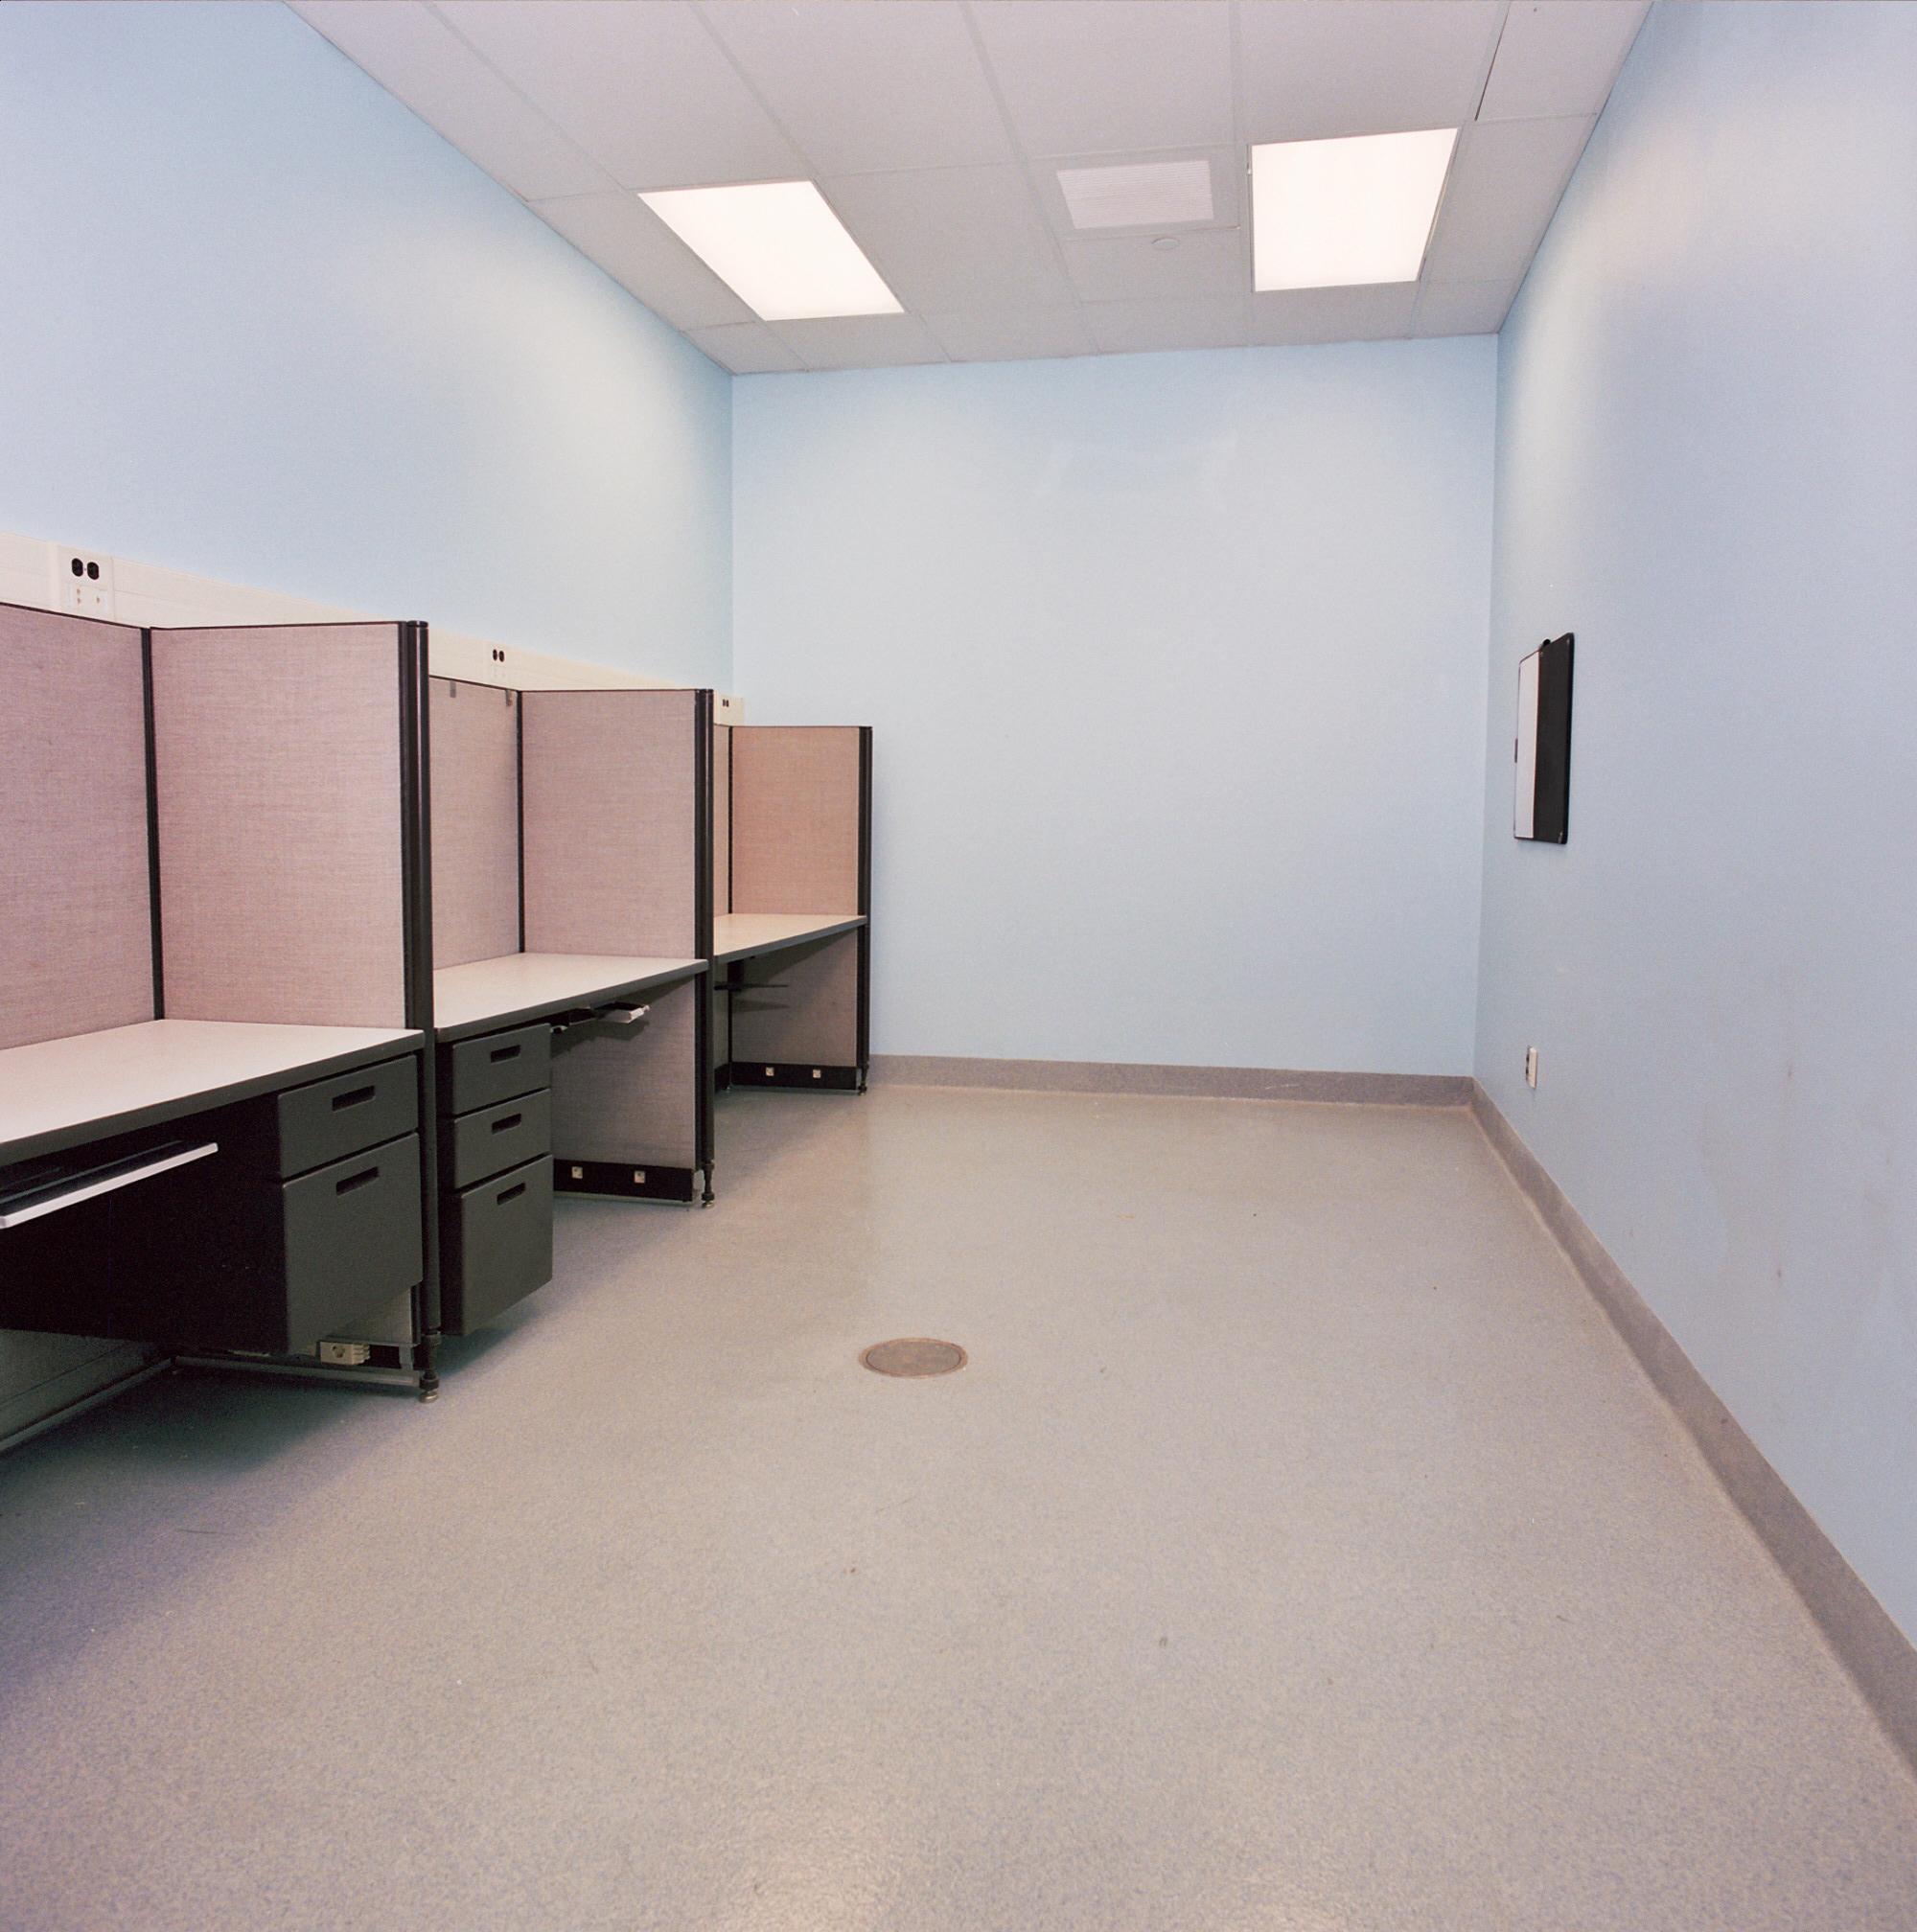
When it comes to laboratory flooring, performance and appearance are equally important. Cracked, stained, or worn concrete floors not only compromise safety but also reflect poorly on the facility's professionalism. With DECORPOXY™, a decorative concrete resurfacer, restoring and enhancing floors becomes a streamlined, durable solution. Here’s a step-by-step guide to transform your concrete floors with confidence.
What is Decorative Epoxy Flooring?
Decorative concrete overlays not only enhance the look of your property with customizable designs that mimic stone, tile, or polished concrete, but they also improve surface durability, resist stains and chemicals, and require minimal maintenance, making them perfect for high-traffic, high-performance environments.
Fast installation and long-term value make this flooring solution a smart investment for property managers focused on aesthetics, safety, and operational efficiency.
What are the Benefits of Decorative Concrete Overlay Systems?
Upgrade your commercial or industrial property with decorative concrete floor overlays, a durable, cost-effective flooring solution that combines functionality with visual appeal. Ideal for labs, warehouses, manufacturing facilities, retail spaces, office buildings, and showrooms, these overlays are engineered to withstand heavy foot and equipment traffic while delivering a clean, professional finish.
How to Apply Decorative Epoxy: Step-by-Step Guide
- Assess the Surface
Before starting, examine the concrete for damage like cracks, spalling, or chemical staining. Identify any areas requiring patching or leveling to ensure the DECORPOXY™ resurfacer adheres properly. - Surface Preparation
A clean, sound surface is crucial. Remove old coatings, dirt, oils, and residues using a grinder or shot blaster. Vacuum thoroughly to eliminate dust. Repair any cracks with an epoxy filler compatible with Decorpoxy™. - Prime the Concrete
Apply the recommended primer from the DECORPOXY™ system to promote adhesion. Follow manufacturer instructions on drying time. A properly primed surface enhances the bond and longevity of the decorative finish. - Mix and Apply Decorpoxy™
Blend DECORPOXY™ decorative concrete overlay components as directed. Pour the mixed material and spread evenly with a notched squeegee or trowel. Customize the look with optional color flakes or finishes for a professional, slip-resistant surface. - Allow Proper Cure Time
Let the surface cure as specified, typically 24 to 48 hours, depending on site conditions. Restrict traffic until fully cured to ensure optimal performance and aesthetic finish.
Built to Last, Designed to Impress
DECORPOXY™ decorative epoxy floor resurfacer delivers a seamless, high-performance surface designed to withstand the rigors of modern laboratory environments. Engineered for resistance to chemicals, spills, heavy equipment, and constant foot traffic, DECORPOXY™ laboratory flooring systems offer both functionality and aesthetics in one comprehensive solution.
Ideal for those seeking attractive yet durable concrete finishes for laboratories, DECORPOXY™ combines industrial-grade strength with a sleek, professional appearance. Its easy-to-clean, non-porous surface helps maintain strict hygiene protocols.
When visual appeal matters as much as performance, DECORPOXY™ epoxy flooring for scientific labs stands out as the ultimate solution. It's more than just a floor. It's a foundation for innovation, cleanliness, and lasting quality.
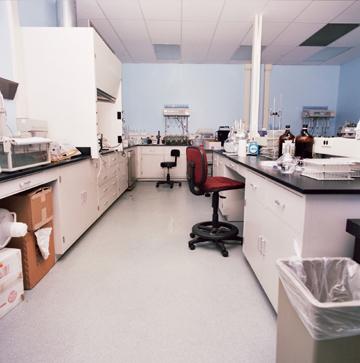
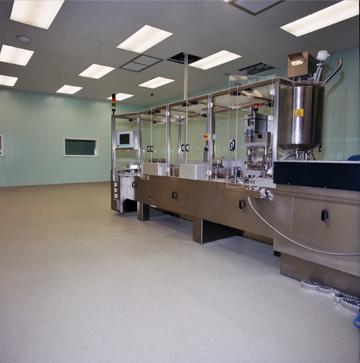
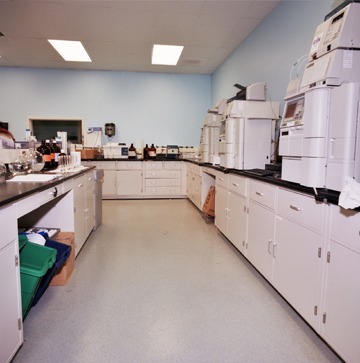
Decorative Floor Resurfacing Results:
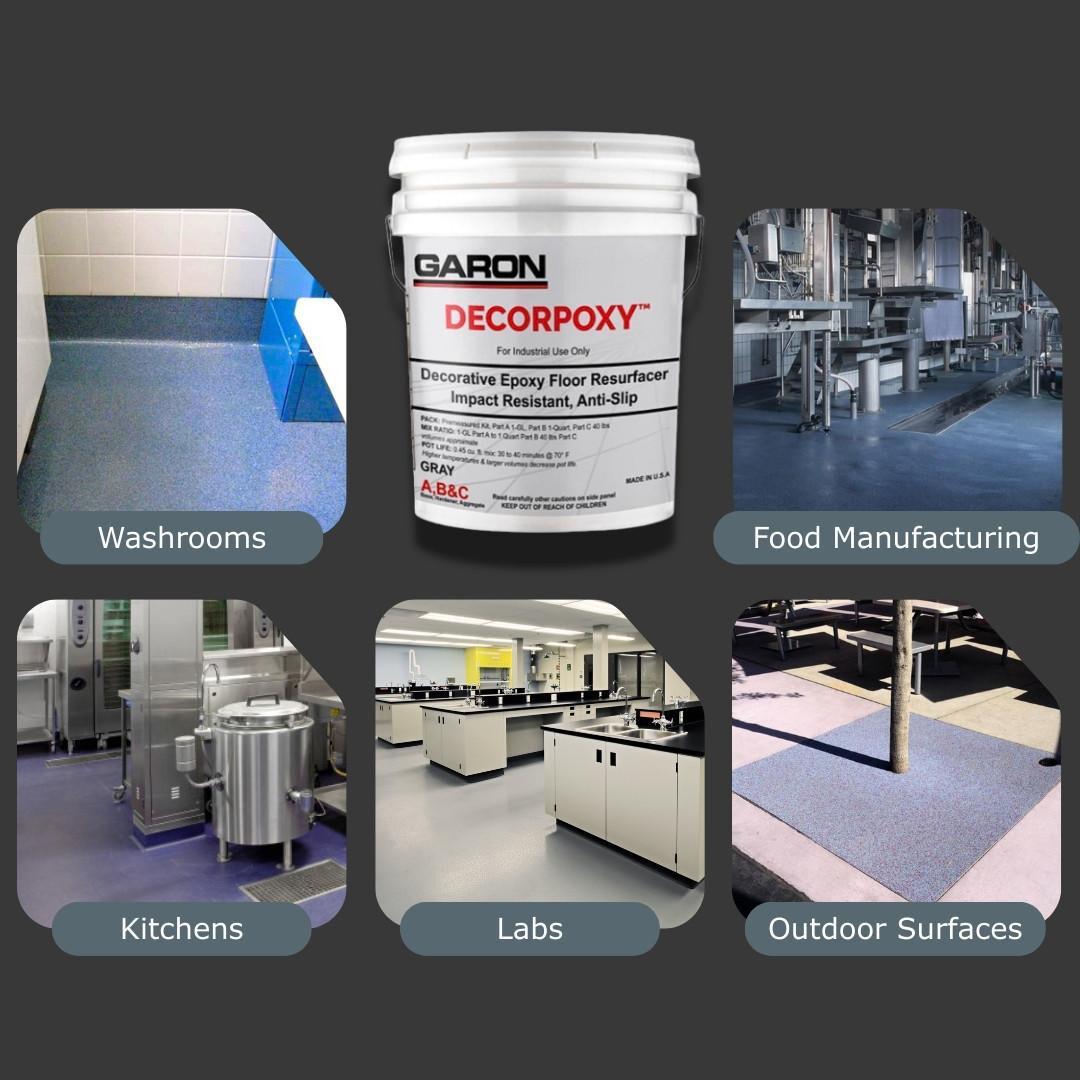
Decorative Epoxy for Many Different Environments
DECORPOXY™ Decorative Epoxy Mortar Patch has many use areas, not just labs. It is ideal for environments exposed to heavy traffic, equipment, and demanding service conditions. This versatile epoxy solution is widely used for outdoor concrete patching, warehouses, manufacturing plants, and institutional facilities such as schools, hospitals, and correctional buildings. It is also well suited for food processing plants and clean rooms, creating a seamless, non-porous, easy-to-clean surface that supports sanitation and safety requirements while standing up to chemicals and moisture.
In high-traffic commercial environments and decorative concrete resurfacing applications, DECORPOXY™ combines performance with visual appeal. Its decorative finish enhances retail spaces, showrooms, and commercial interiors while delivering a slip-resistant, low-maintenance epoxy floor system built to last. This makes it a smart choice for contractors and facility managers searching for a durable, multi-use epoxy flooring and concrete repair solution.
FAQS for Decorative Epoxy Floors
FAQ 1: What is decorative concrete and how is it different from regular concrete?
Decorative concrete is a type of concrete that combines functionality with aesthetics. Unlike regular concrete, which is typically plain and gray, decorative concrete is enhanced through techniques like stamping, staining, polishing, or coloring to mimic the look of stone, tile, brick, or even wood.
FAQ 2: How long does decorative concrete last and is it durable?
Yes, decorative concrete is extremely durable and can last 30 years or more with proper care. It retains the strength of traditional concrete while offering an attractive finish. Factors like sealing, maintenance, and weather conditions can impact its lifespan. Sealing every 2–3 years helps protect the surface from fading, stains, and moisture damage, ensuring it stays beautiful and functional for decades.
FAQ 3: Is decorative concrete a good choice for outdoor spaces like patios and driveways?
Decorative concrete is one of the best choices for outdoor applications such as patios, driveways, and pool decks. It’s resistant to heavy traffic, weather elements, and UV rays. With a wide range of colors, textures, and patterns, facility managers can achieve a custom look that enhances curb appeal and property value.